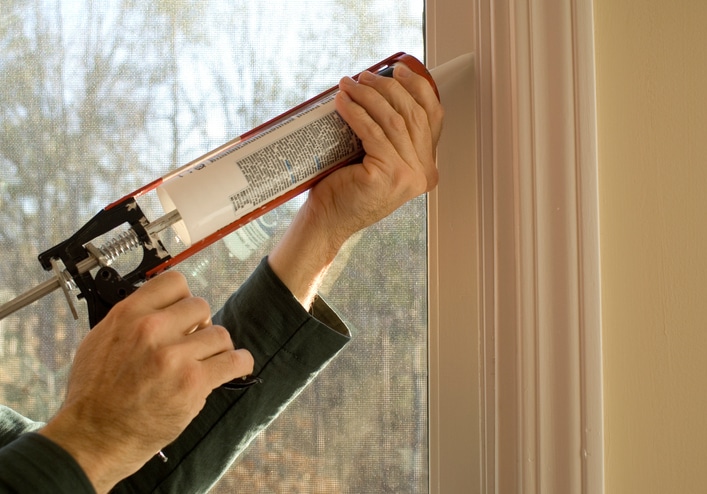
Caulk is a versatile sealant that can be used in many areas of the home. Bathtubs, windows, baseboards, countertops – you can find caulk lines just about anywhere. If you have a draft coming in from your windows or baseboards, you may be able to fix the issue with a new bead of caulk. Use the guide below to learn how to caulk like a pro.
Step 1 – Choose The Right Caulk
There are many different types of caulk on the market, so you need to make sure you get the right kind for your specific needs. There are two main categories: kitchen, tub and tile; and windows and door trim. The container will say what the caulk can be used for, so select the material that best suits your needs.
Keep in mind the color of the caulk and its drying time. Use clear silicone caulk around your sink, countertops, and other areas where you do not have white trim. You can use white caulk around floorboards, windows, etc. If the area you will be caulking may be exposed to moisture quickly, like the outside of your window, you will need to select a caulk that dries quickly. If the caulk will be exposed to high moisture levels, like in the shower, get something with strong mold resistance.
As long as you read the bottle carefully, you can find a caulk that fits your needs exactly.
Step 2 – Gather Extra Tools
In addition to the caulk, you will need a caulk gun. This is a very inexpensive tool that helps guide the caulk out of the tube smoothly. It is easy to control, and it will ensure you get the best results possible.
You will need to wipe the caulk after applying it, as we will explain in another step. You can use your finger or a wet cloth to do this, or you can purchase a corner tool that will act like a squeegee for excess caulk. Make sure to have some paper towels or a rag on standby to wipe off the extra caulk from your fingers, the towel, or the corner tool you use.
Step 3 – Clean The Area
Clean the area where you will be placing the caulk with a wet rag. Wipe it off with a dry paper towel or let it air dry. You may also want to clean it off with alcohol or TSP to remove oils from the surface. The goal is to have a clean, dry surface so the caulk grips tightly and lasts.
Step 4 – Apply The Caulk
Cut the tip of the caulk at a 45 degree angle and use the piercer on the caulking gun to poke through the film below the tip. Push the tip into the area where you want to caulk so that the angle is pressed against the seam. Slowly squeeze the trigger of the caulk gun as you move down a line. Maintain a consistent amount of pressure on the trigger and a consistent speed as you progress down the seam.
Step 5 – Wipe The Excess
Use your finger or a corner tool to wipe off the excess caulk. You may also wipe your finger with a damp cloth to do this. Move along the line with the same steadiness that you used before so you can create a beautiful line along your windows, tile or trim.
If you applied a heavy line of caulk during the steps above, you may need to wipe your finger or tool several times because the excess caulk will build up quickly. If you apply less pressure on the trigger during the next application, you won’t have as messy of a cleanup – and you won’t have to worry about wasting too much caulk.
Step 6 – Repeat As Needed
Some caulk will shrink when it dries, or one bead of it simply isn’t thick enough to cover the gap you’re dealing with. In that case, wait for the caulk to dry completely (dry time will be on the tube) and then repeat the process above. If the first round did not turn out as clean as you wanted it to, you can always scrape it up with a razor or a caulk scraper and then try again.
